If you find yourself overwhelmed with where to even begin the process of organizing and decluttering your space, stick to these 5 steps:
- Pull everything out
- Sort it into categories or like items
- Review each category, pulling things out for donate, trash, or to sell
- Bin up your items by category and label
- Place items back into the space by frequency of use
Spelled out, it seems simple enough. Unfortunately, my clients usually get overwhelmed and hit a wall after step 1 or 2.
Organizing a space from start to finish is overwhelming for the majority of people I talk to. Breaking each step down can help it feel less chaotic and challenging. If we were to start the process by asking ourselves some simple questions to get in a good mindset, it makes a world of a difference:
1. What do I want this space to be? What do I want to store and use this space for?
2. What is working in this space? Is there anything about the space that functions well for you or your family?
3. What is not working well in this space?
WALKING THROUGH THE STEPS: STEP ONE
Let’s start with the very first step: pull everything out. Yes, that means literally everything! I know it is tempting to start small and touch only the very obvious items or surface-level clutter. Pulling everything out almost feels counter-intuitive, like you’re actually going to be ADDING to the mess that you are trying to reign in. But I promise, trust the process.
Pulling everything out helps to see the inventory that you truly have. It creates a fresh and clean start, and it will help later on when deciding what to purge. When everything is removed from a space, it is much easier to weed through what items can go and what items require a storage solution.
Once step one is complete and all items have been removed from the area being organized, this is usually when I encourage my clients to vacuum, sweep, and wipe the shelves and counters down. Cluttered spaces, more often than not, have accumulated weeks, months or even years of dust and debris. Take this opportunity to freshen up your space before returning items. When completely clean, the space automatically feels better and will boost your mood to keep moving forward.
WALKING THROUGH THE STEPS: STEP TWO
It’s time to really get into the meat and potatoes of organizing. Once everything has been removed, we need to sort every item into categories. This will help to identify duplicates, expired/broken pieces, things that are no longer useful, or items that belong elsewhere. It can be helpful to utilize bins or boxes to contain your categories. Label each bin with a post-it note, identifying what category each bin is for. Remember: start with broad categories such as “electronics”, “decor”, “office supplies”, etc. If anything does not fit with your goal and vision for the space, either toss/ donate it or take it to another area in your home where it does belong. This step is essential and cannot be skipped.
WALKING THROUGH THE STEPS: STEP THREE
Now that everything has been divided up into categories, let’s review what we have. You may have already begun doing this while pulling items out. Great! But it’s always good to do a thorough review once you can see your full inventory laid out in front of you and in specific groupings. Look for these four things:
1. Is anything broken or expired?
2. Is anything missing pieces or in poor shape?
3. How many of the same item do you have? Is it necessary to keep multiples?
4. Do I still need or want this item?
WALKING THROUGH THE STEPS: STEP FOUR
Whew! Pat yourself on the back because you’ve officially overcome the hardest part of organizing. Now for the fun part – binning your categories up! There are so many amazing storage solutions on the market today. But I encourage you to choose your products based on what makes the most sense for you specifically.
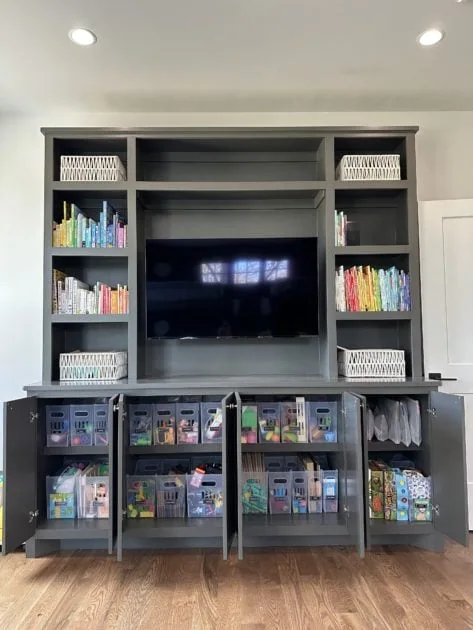
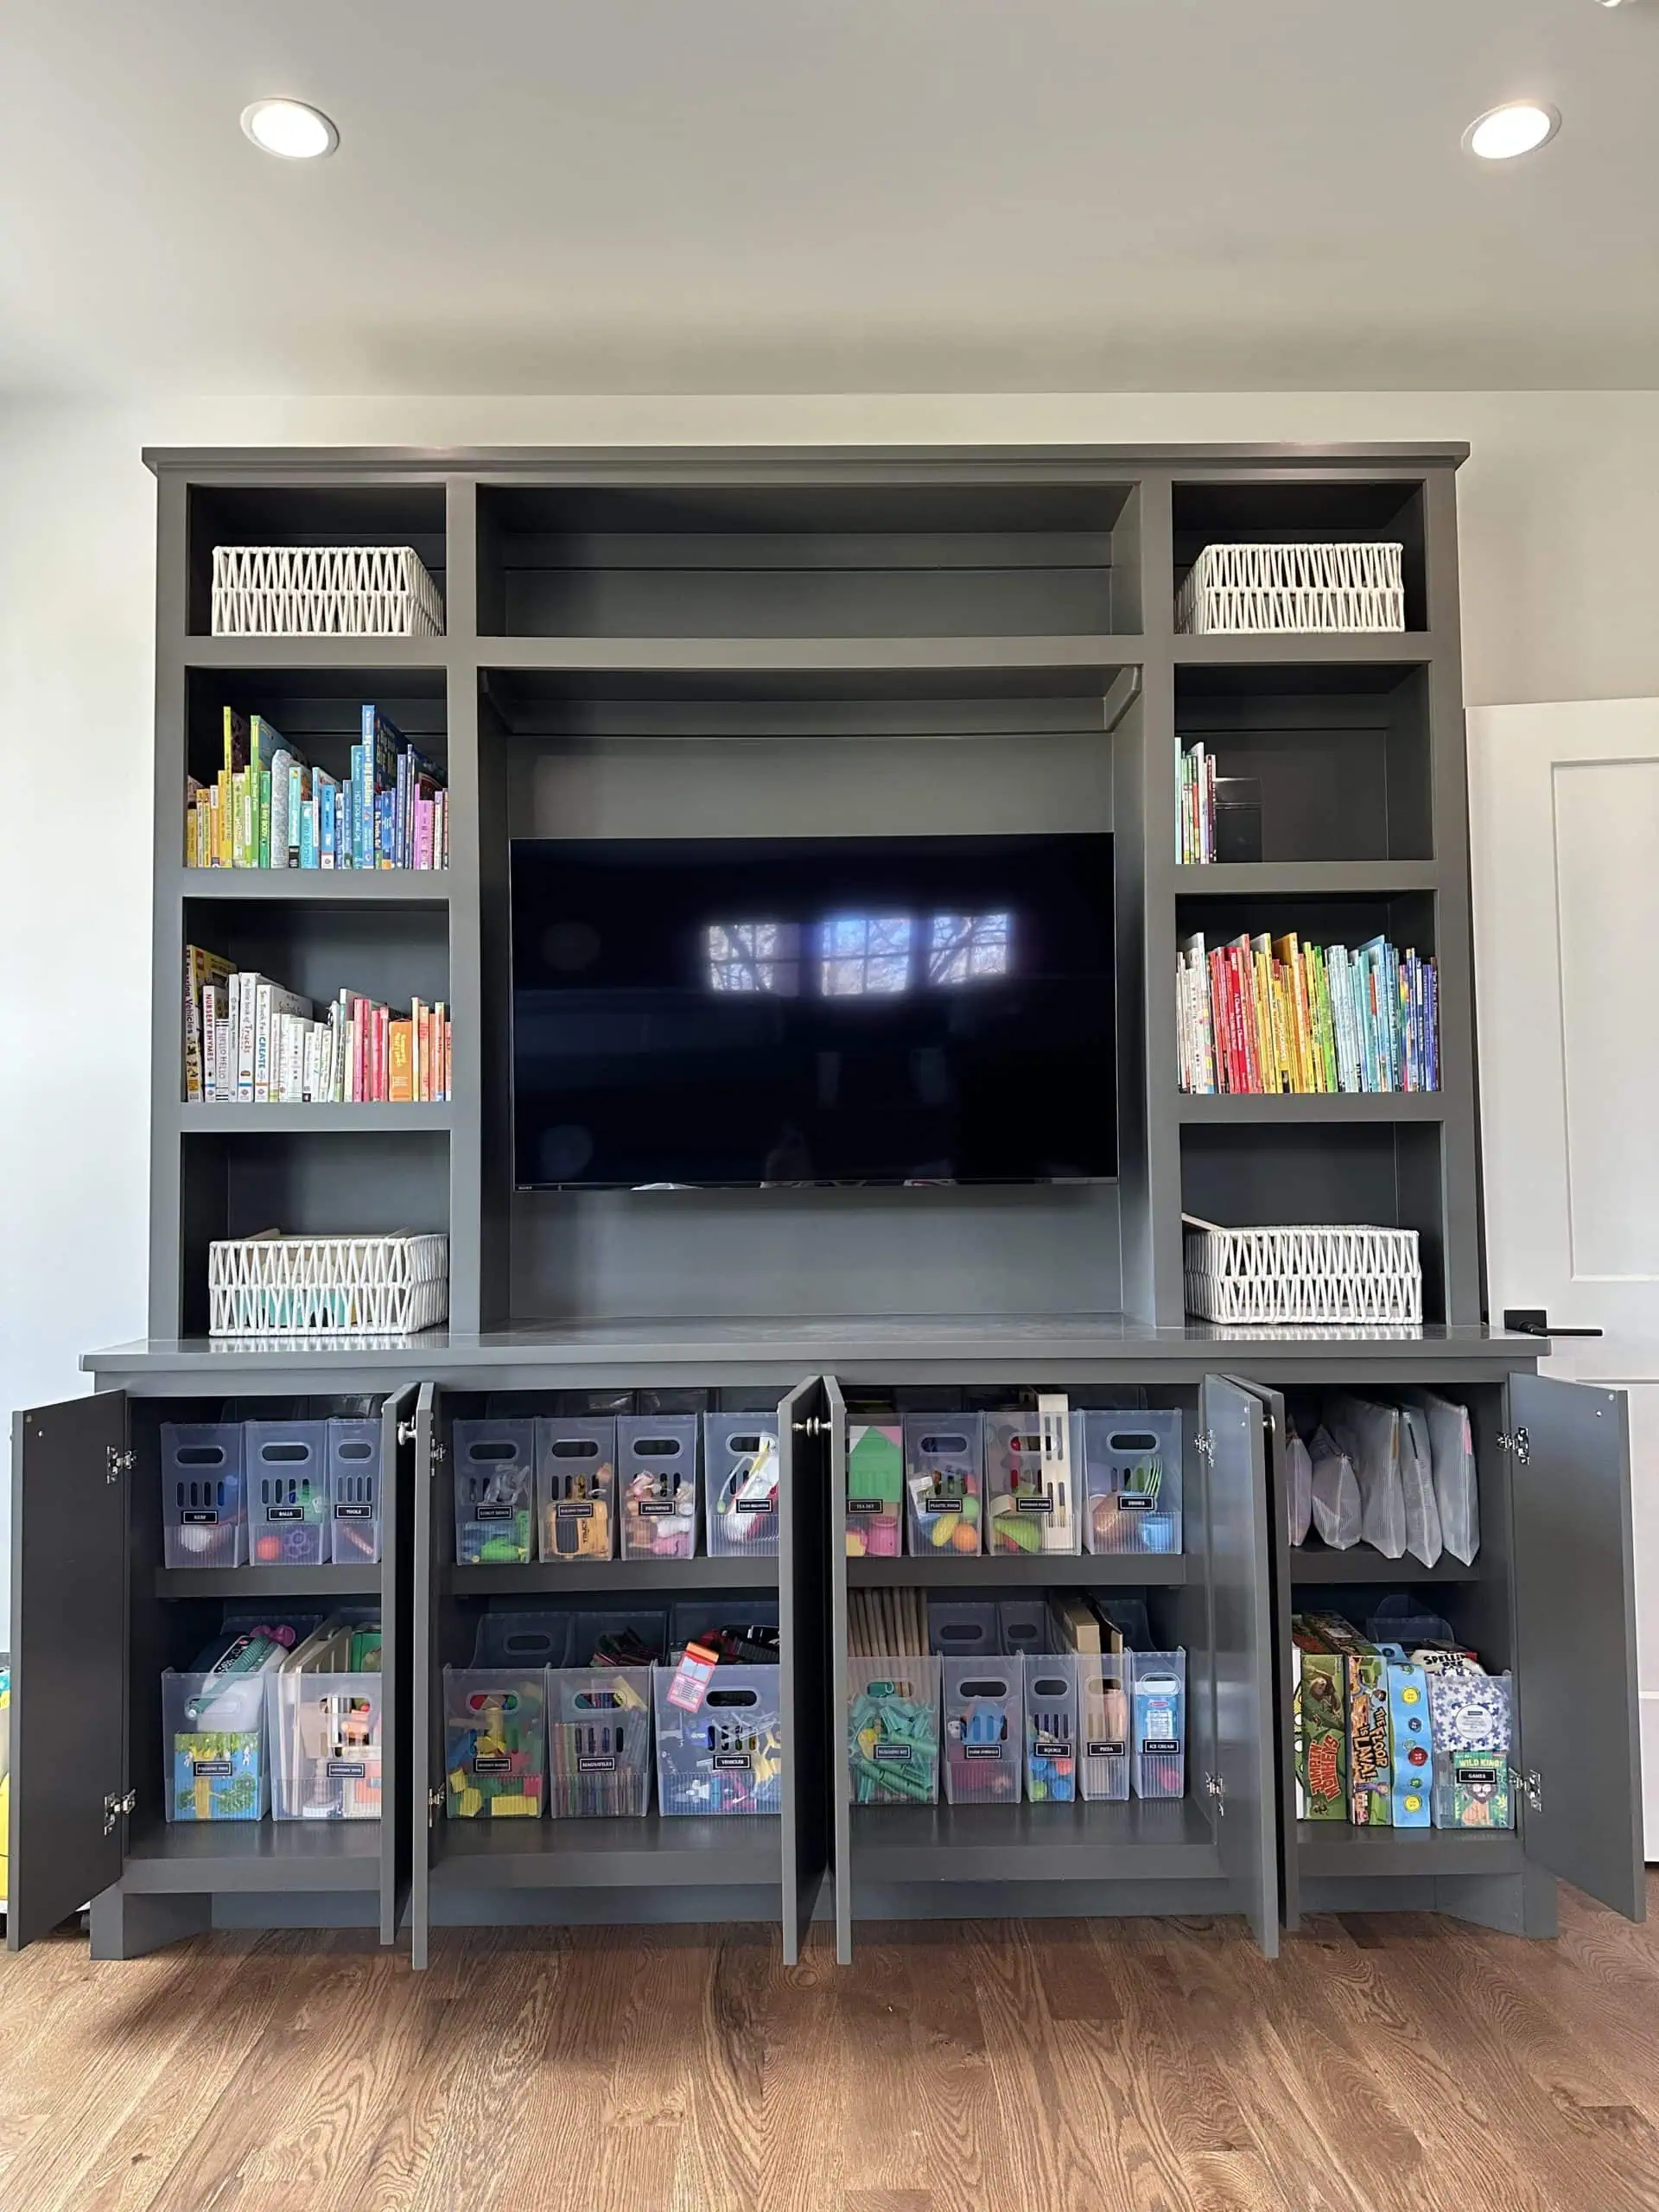
If you tend to fall under the category of out-of-sight-out-of-mind, find bins that are clear or translucent so you can easily see what’s inside. Turntables are useful for corner spaces. Plastic or acrylic bins are essential for storing items that can spill, leak or make a mess as they are easy to wipe down. For spaces that are often seen and looked at, consider baskets to make the space feel more inviting and aesthetic.
Now, this is where some people can get stuck, but I truly believe that nearly everything can and should be placed in a bin or storage solution. If you have loose items, reconsider your categories. Loose items add to visual clutter.
Finally, LABEL LABEL LABEL! Don’t miss this step. By labeling every bin or basket, it will allow you to find items when needed AND put items away in their correct location every single time.
WALKING THROUGH THE STEPS: STEP FIVE
We’ve finally come to the end. It’s time to wrap it all up and enjoy the fruits of your labor. Place items back into your space by how often you use them. If you have young children, maybe that means keeping the things they need at a lower level. If there are items that need to be out of reach of children – chemicals, medicine, sugary sweets, sharp or fragile objects – keep these bins higher up. I always recommend heavy items placed at your waist level or lower and everyday items at eye level.
AN ORGANIZED SPACE
Looking at it from a big picture, the steps to getting organized can seem easy and fairly straight forward. However, if you find yourself not knowing what to do, where to start or how to proceed, it may be because you’ve skipping essential steps or questions. Dedicate some time to properly walk through the organizational process and enjoy the peace that comes from a truly functional space. I hope this helps in your next project you take on, and don’t be afraid to ask for help!


