Let’s be honest: the sight of a mountain of paperwork can be enough to make anyone’s head spin. In an age where digital documents are becoming the norm, the amount of paperwork we accumulate can still feel overwhelming. From bills and tax documents to personal records and important correspondence, managing paperwork effectively is crucial for maintaining order and reducing stress. Here’s a step-by-step guide to help you organize your paperwork efficiently.
1. Gather All Your Paperwork
Start by collecting all your paperwork in one location. This includes documents from various rooms, your home office, and even your car. Having everything in one place will give you a clear picture of what you’re dealing with.
2. Sort into Categories
Once your paperwork is gathered, sort it into categories. We call this the funnel method. Start with broad categories that will further be separated into smaller groups. Common categories might include:
- Financial Documents (bills, bank statements, receipts)
- Medical Records (wellness visits, prescriptions, procedures)
- Personal Documents (birth certificates, passports)
- Household Documents (leases, warranties, manuals, closing documents)
- Insurance (medical, life, home, car)
- Kids (school notes, grades, schedules)
- Resources (notes, articles, clippings)
Label each category clearly to streamline the next steps. Post-its are your best friend!
3. Decide What to Keep and What to Discard
Review each category and determine which documents you need to keep. Here are some guidelines:
- Keep for a Year: Most bills and receipts. Remember, in this digital age most utility bills can be accessed through online accounts, therefore it may not be necessary to keep a physical copy. Only keep important bills and receipts that do not have a digital copy.
- Keep for Six Years: Tax returns and supporting documents.
- Keep Indefinitely: Important personal documents (birth certificates, marriage licenses, etc.).
Shred or recycle any documents that are no longer needed, ensuring you protect sensitive information. For bulk shredding, you can find an Iron Mountain shredding machine at most UPS stores or Office Depots.
4. Choose an Organizational System
There are several organizational systems to choose from. Select one that suits your style:
- Filing Cabinet: A traditional method for storing categorized files in labeled folders.
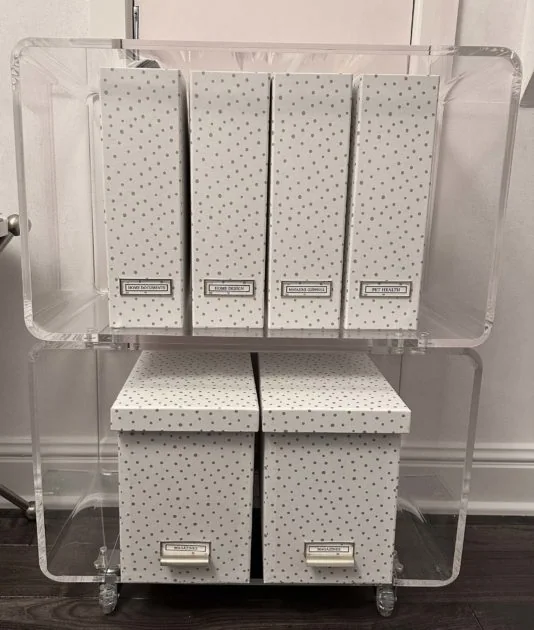
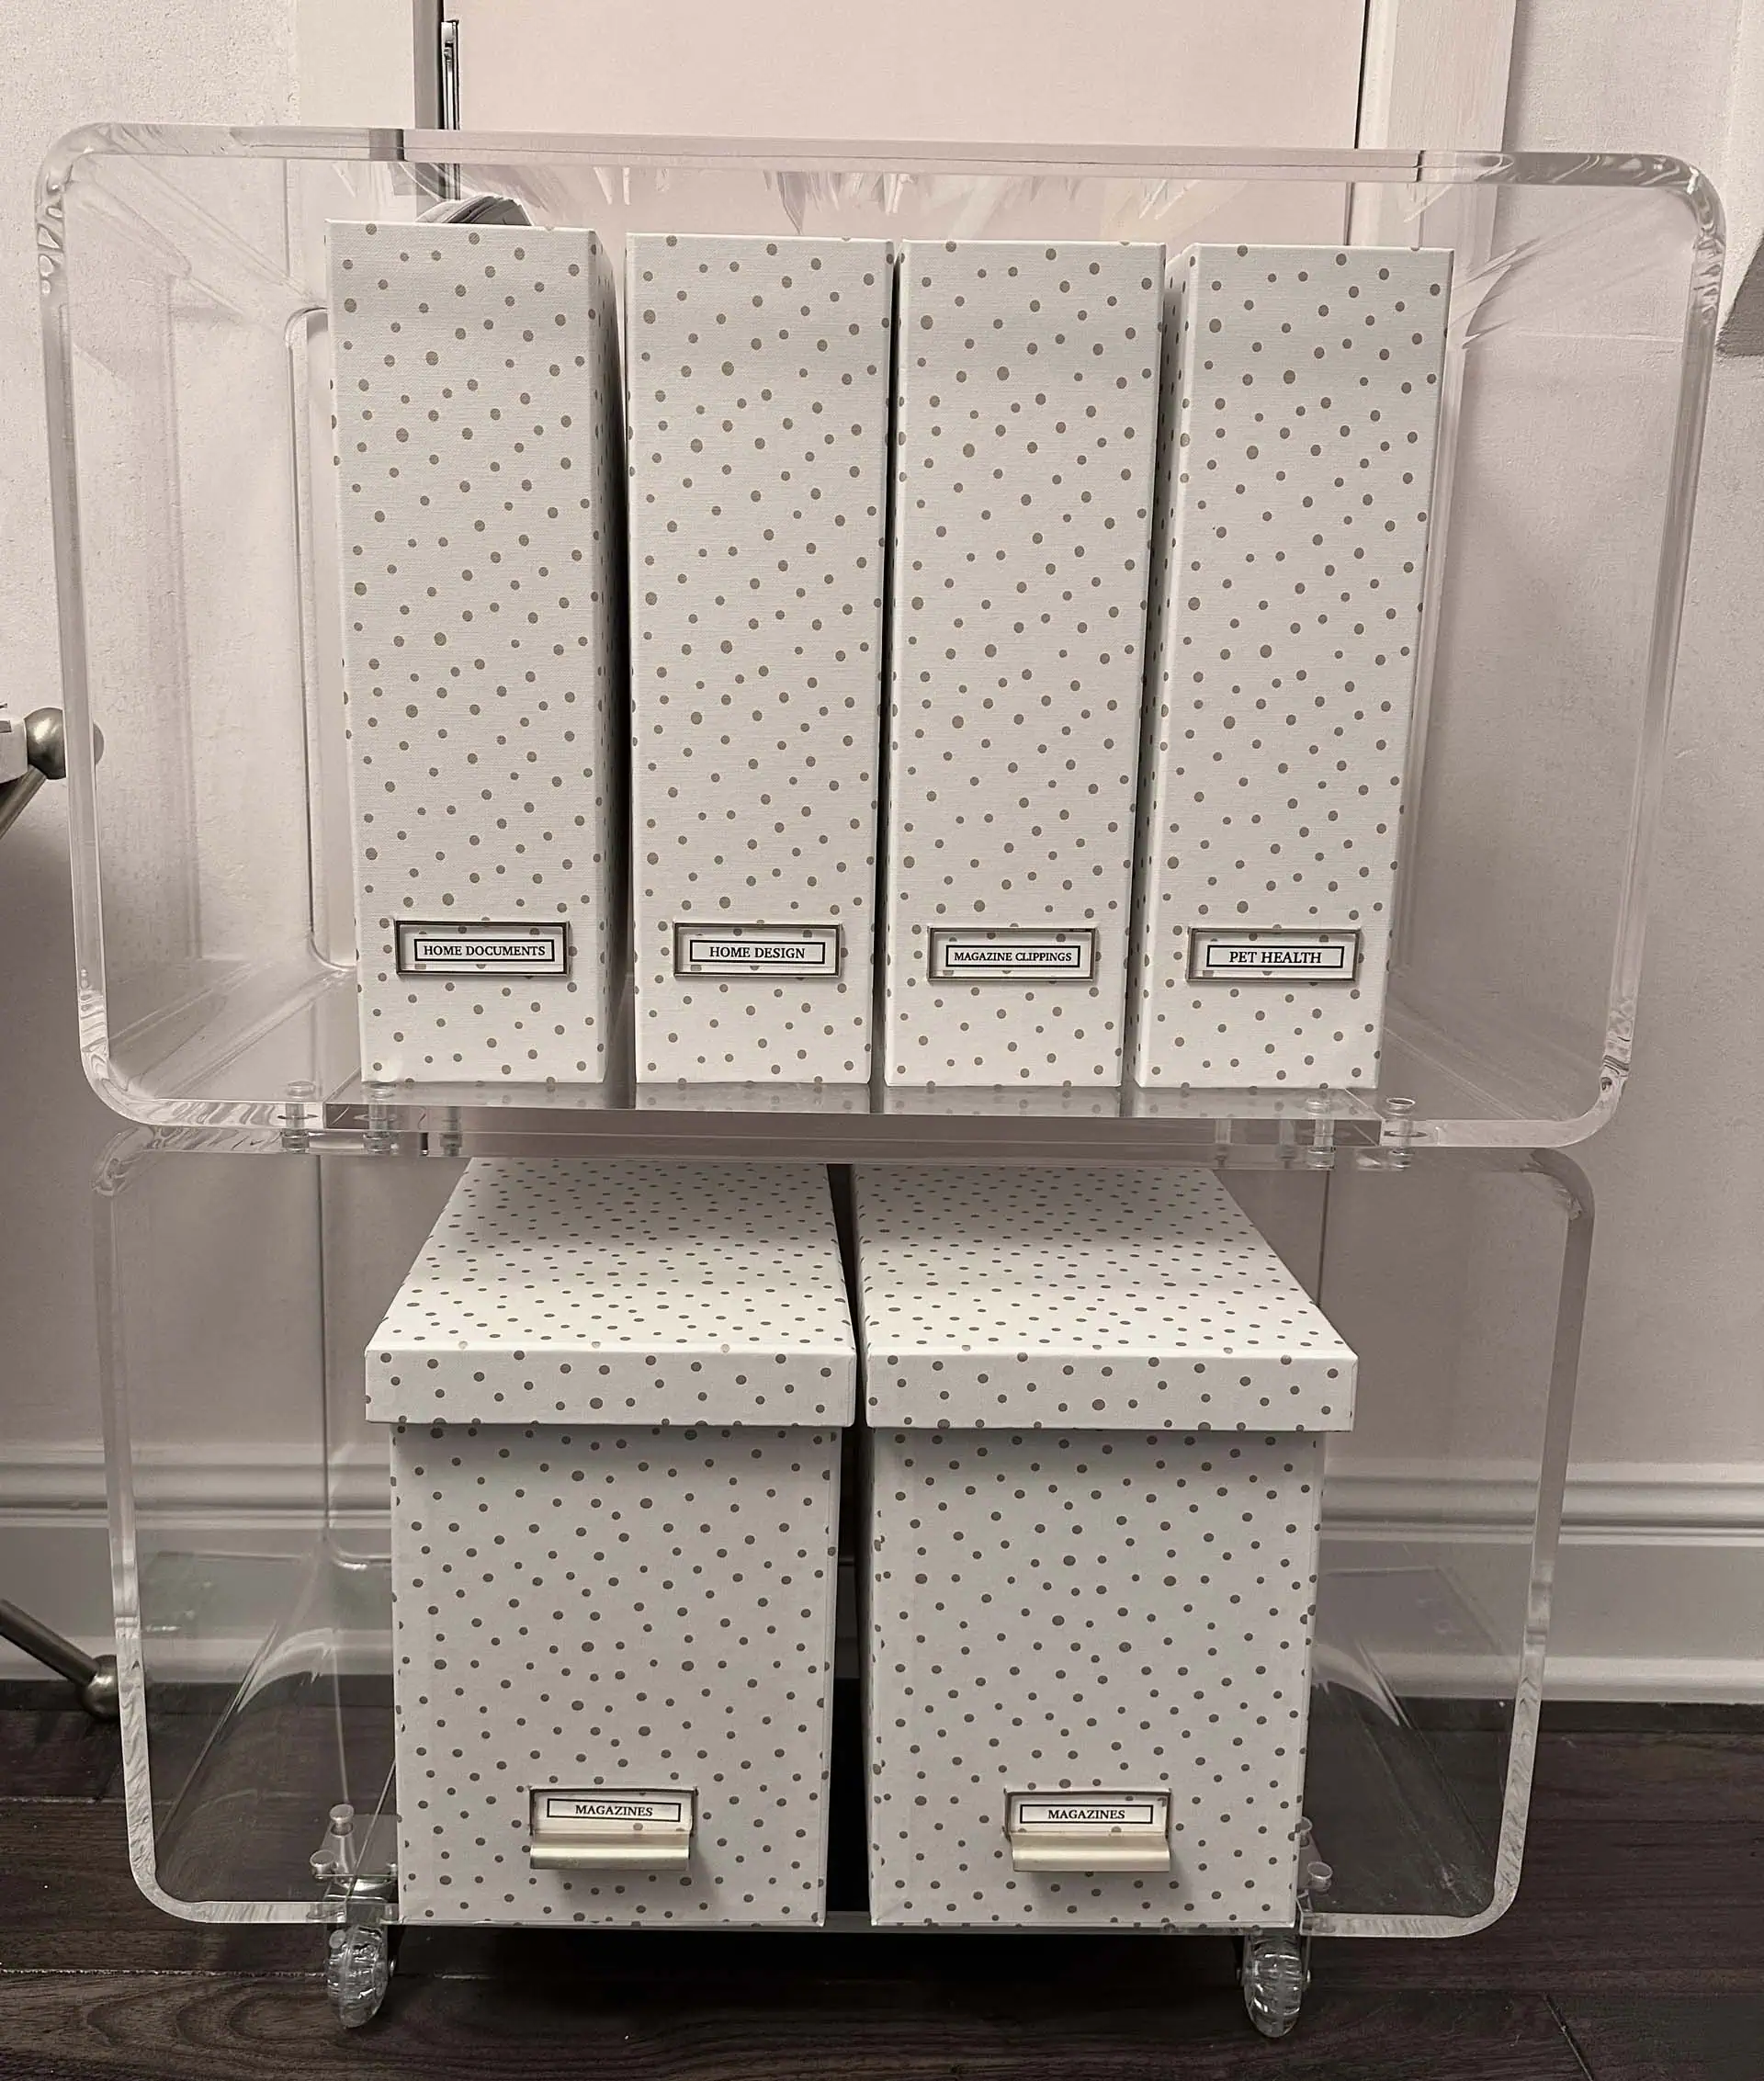
- Binders: Use binders with dividers for specific categories, ideal for portability.
- Digital Organization (recommended!): Scan important documents and use iCloud Drive to keep them organized digitally. Use folders and naming conventions for easy retrieval. The benefit of digital organization is not only the space-saving aspect, but also the fact that your documents are protected from any emergency that may cause them damage.
5. Create a Filing System
If you choose to use a filing cabinet or binders, develop a logical filing system. Consider organizing files alphabetically, chronologically, or by category—whichever method makes the most sense for you.
6. Label Everything Clearly
Label each folder or binder clearly, including the category and dates when relevant. This will save you time in the future and help you find documents quickly when needed. Start by lining up all the largest categories in a row – home, kids, insurance, medical. Then after each category, further break down your files into smaller groups. For example, the category of Insurance may further be broken down into Medical, Vehicle, Home, Life.
7. Create a Command Center
Designate a specific spot in your home as a “command center” for managing paperwork. This could be a small desk or a corner of your kitchen. Keep essential items like a shredder, a filing system, and office supplies handy.
8. Set Up a Daily or Weekly Maintenance Routine
To prevent paperwork from piling up again, establish a routine for handling new documents. Consider dedicating a specific time each week to go through mail and paperwork. Decide immediately whether to file, scan or shred each piece.
9. Consider Professional Help
If the task feels too overwhelming, don’t hesitate to hire a professional organizer! They can provide personalized strategies and systems tailored to your needs.
10. A Special Note About School Papers
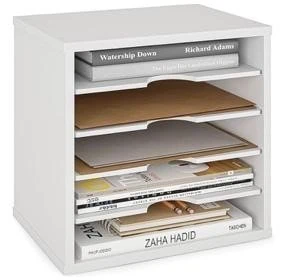
One of the more frustrating categories to deal with is the overwhelming amount of paperwork and communication that children bring home from school. Between graded papers, permission slips, and progress reports, there seems to be an endless flow of documents. It’s important to create an easily accessible and convenient spot for children to deposit their school papers upon returning from school. Utilizing a paper sorter can help prevent disorder.

Assign each child to one section of a paper sorter. Encourage your child to place all their papers and school folders into their designated slot each day. Label their slot! With all their papers in one central location, you will be able to check their cubby when it is convenient for you and eliminate the pile-up of papers dumped on the kitchen counter.
Start Today!
Organizing paperwork doesn’t have to be a daunting task. By following these steps, you can create a streamlined system that works for you. Not only will you reduce clutter, but you’ll also gain peace of mind knowing that your important documents are organized and easily accessible.


